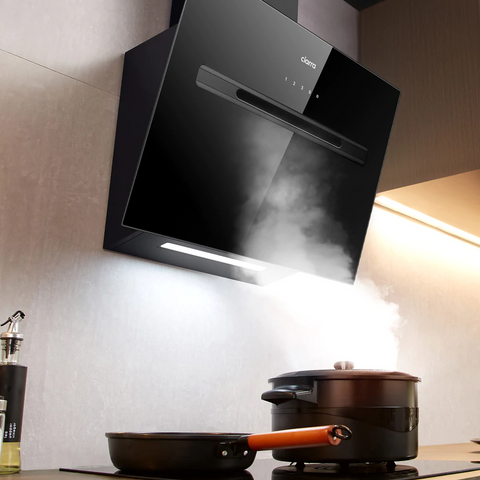
Since the appearance of the cooker hood, our kitchen fume problem has become easier to deal with. Although there are many types of cooker hoods on the market, they aim to improve the cooking fume problem, and the installation method and process are basically the same. So when it comes to installing the angled cooker hood, some people may have a few questions about it. So the following is a brief introduction to the installation method of the angled cooker hood.

Installation method of angled cooker hood
- The position of the mounting plate
The installation position of the cooker hood is directly above the stove and on the same axis as the cooker. The angled cooker hood bottom should be 65-75cm from the cooktop. According to the specific cooker hood product's size, find the gusset's position on the back and draw the line with a pencil.
If there is still a gap at the top of the cooker hood, in order to hide the duct, you can customize the extended coverage of the cooker hood, and the orientation of the mounting plate of the extended cover should also be sure before installation.
- Drilling hole and installing the mounting plate
After confirming the install position of the mounting plate, use an impact drill to drill a hole with a depth of 5-6 cm in the installation position, press the expansion pipe into the hole, and then firm the mounting plate with screws.
- Mount the cooker hood to the mounting plate
The back of the cooker hood can be embedded with the mounting plate, then mount the cooker hood on it. And because cooker hoods are generally heavier, they usually require two people to cooperate when installing.
- Installing ductwork
Make a plan for the ductwork route, determining the shortest route from your kitchen to the outside. Begin on the outside, cutting the siding or roof with the hole saw that it is slightly larger than the exhaust duct. Run the duct back in the kitchen and connect it with the cooker hood. And make sure it's seamless and cover seam connections with aluminium foil tape.
- Install oil cup and other accessories
The last step is to install the cooker hood's oil cup and other accessories. After the accessories are installed, the installation is finished.
Notes for installation of cooker hood
- Notes for drilling
Before installing the cooker hood, ensure that there are no water pipes, gas pipes, and wires passing through the drilling hole in case it causes damage or even cause electric shock.
- Pay attention to keeping it level
During the installation process of the cooker hood, you must pay attention to the levelness of the hood and observe its level after installation to avoid tilting. Make sure the hood does not become unstable or unhook.
- Notes for ductwork
The exhaust duct should not be too long, and it's better under 2m. Try to minimize bending and avoid multiple 90-degree bends; otherwise, it will affect the exhaust ability.
- Test the cooker hood after installation
After the cooker hood is installed, be sure to test the cooker hood, see if it works fine, and check all the functions.
- Protection
After the cooker hood is installed, if other projects in the kitchen have not been completed, it is necessary to do protection of the cooker hood. You can put a plastic protective film on the cooker hood.
We have learned that installing an angled cooker hood is a bit complicated and a heavy task. If you are unfamiliar with installation, it is best to call a professional to finish the job.

